Boost

Shining Pig

A civilized 18V Powerboost with Master Volume and refined gain taper.

The Story

Shining Pig
A primitive circuit with civilized manners.

The Shining Pig is our take on the legendary Colorsound Powerboost, the monster that defined the sound of 70s psych rock.

The original circuit is famous for two things: incredible, high-headroom dynamics and being absolutely deafening. It had no master volume, meaning you had to shake the walls just to get the transistors to crackle. It was a crude but brilliant design for a time when PA systems were weak and amplifiers needed to be punished.

We kept the brilliance and fixed the usability.

The Shining Pig runs on an internal 18V rail (generated from a standard 9V supply via our IO board's charge pump), preserving that percussive, high-voltage "thump" that makes the original so addictive. But we added a Master Volume, so you can finally get that cooking transistor sound at bedroom levels.

We also swapped the stock gain control for a different taper that creates a usable "Goldilocks" zone. Instead of an on/off switch for fuzz, you get a wide sweep of "hair", that magical texture where the signal is still mostly clean but also harmonically rich, responding instantly to your pick attack.

The Gateway Build

For builders, this is the perfect entry point into the YGN Framework. The circuit is simple but sensitive, allowing you to figure out the importance of biasing and power rails. And because the PCB is a straightforward layout, you aren't locked in: swap a few values, add a few traces and eventually add biasing trimpots on the rails to convert it to the 9V Overdriver, tweak the EQ stage values or keep it its original 18V specs for the full original experience.

Controls

Front Panel

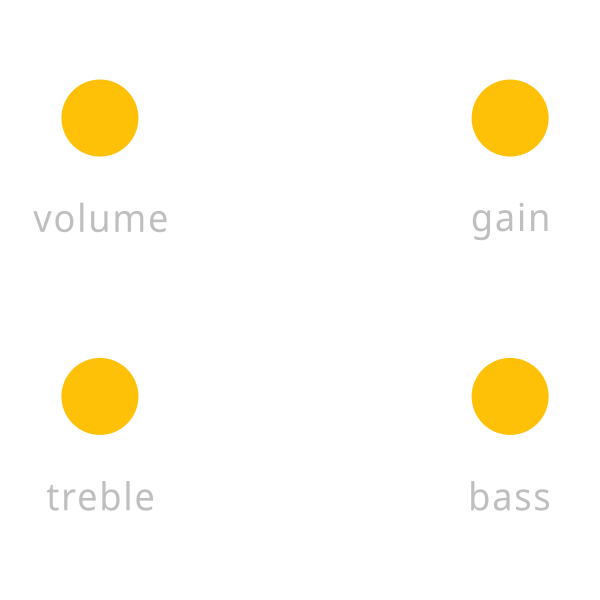
Shining Pig controls

Volume

This is the Master Volume the original never had. It sits at the very end of the circuit, allowing you to crank the Gain and EQ to get the transistors cooking while keeping the actual output level reasonable.

Gain

Controls the amount of drive using our custom taper. It covers a massive range from a high-headroom clean boost at minimum, through a wide edge-of-breakup texture in the middle and all the way to a gated, vintage silicon fuzz when fully cranked.

EQ (Bass / Treble)

A powerful, active 2-band EQ based on the Baxandall topology. The Bass control adds massive body and thump, while the Treble adds glass and slice. These controls are somewhat interactive. Boosting one will affect the behavior of the other.

Internal Controls

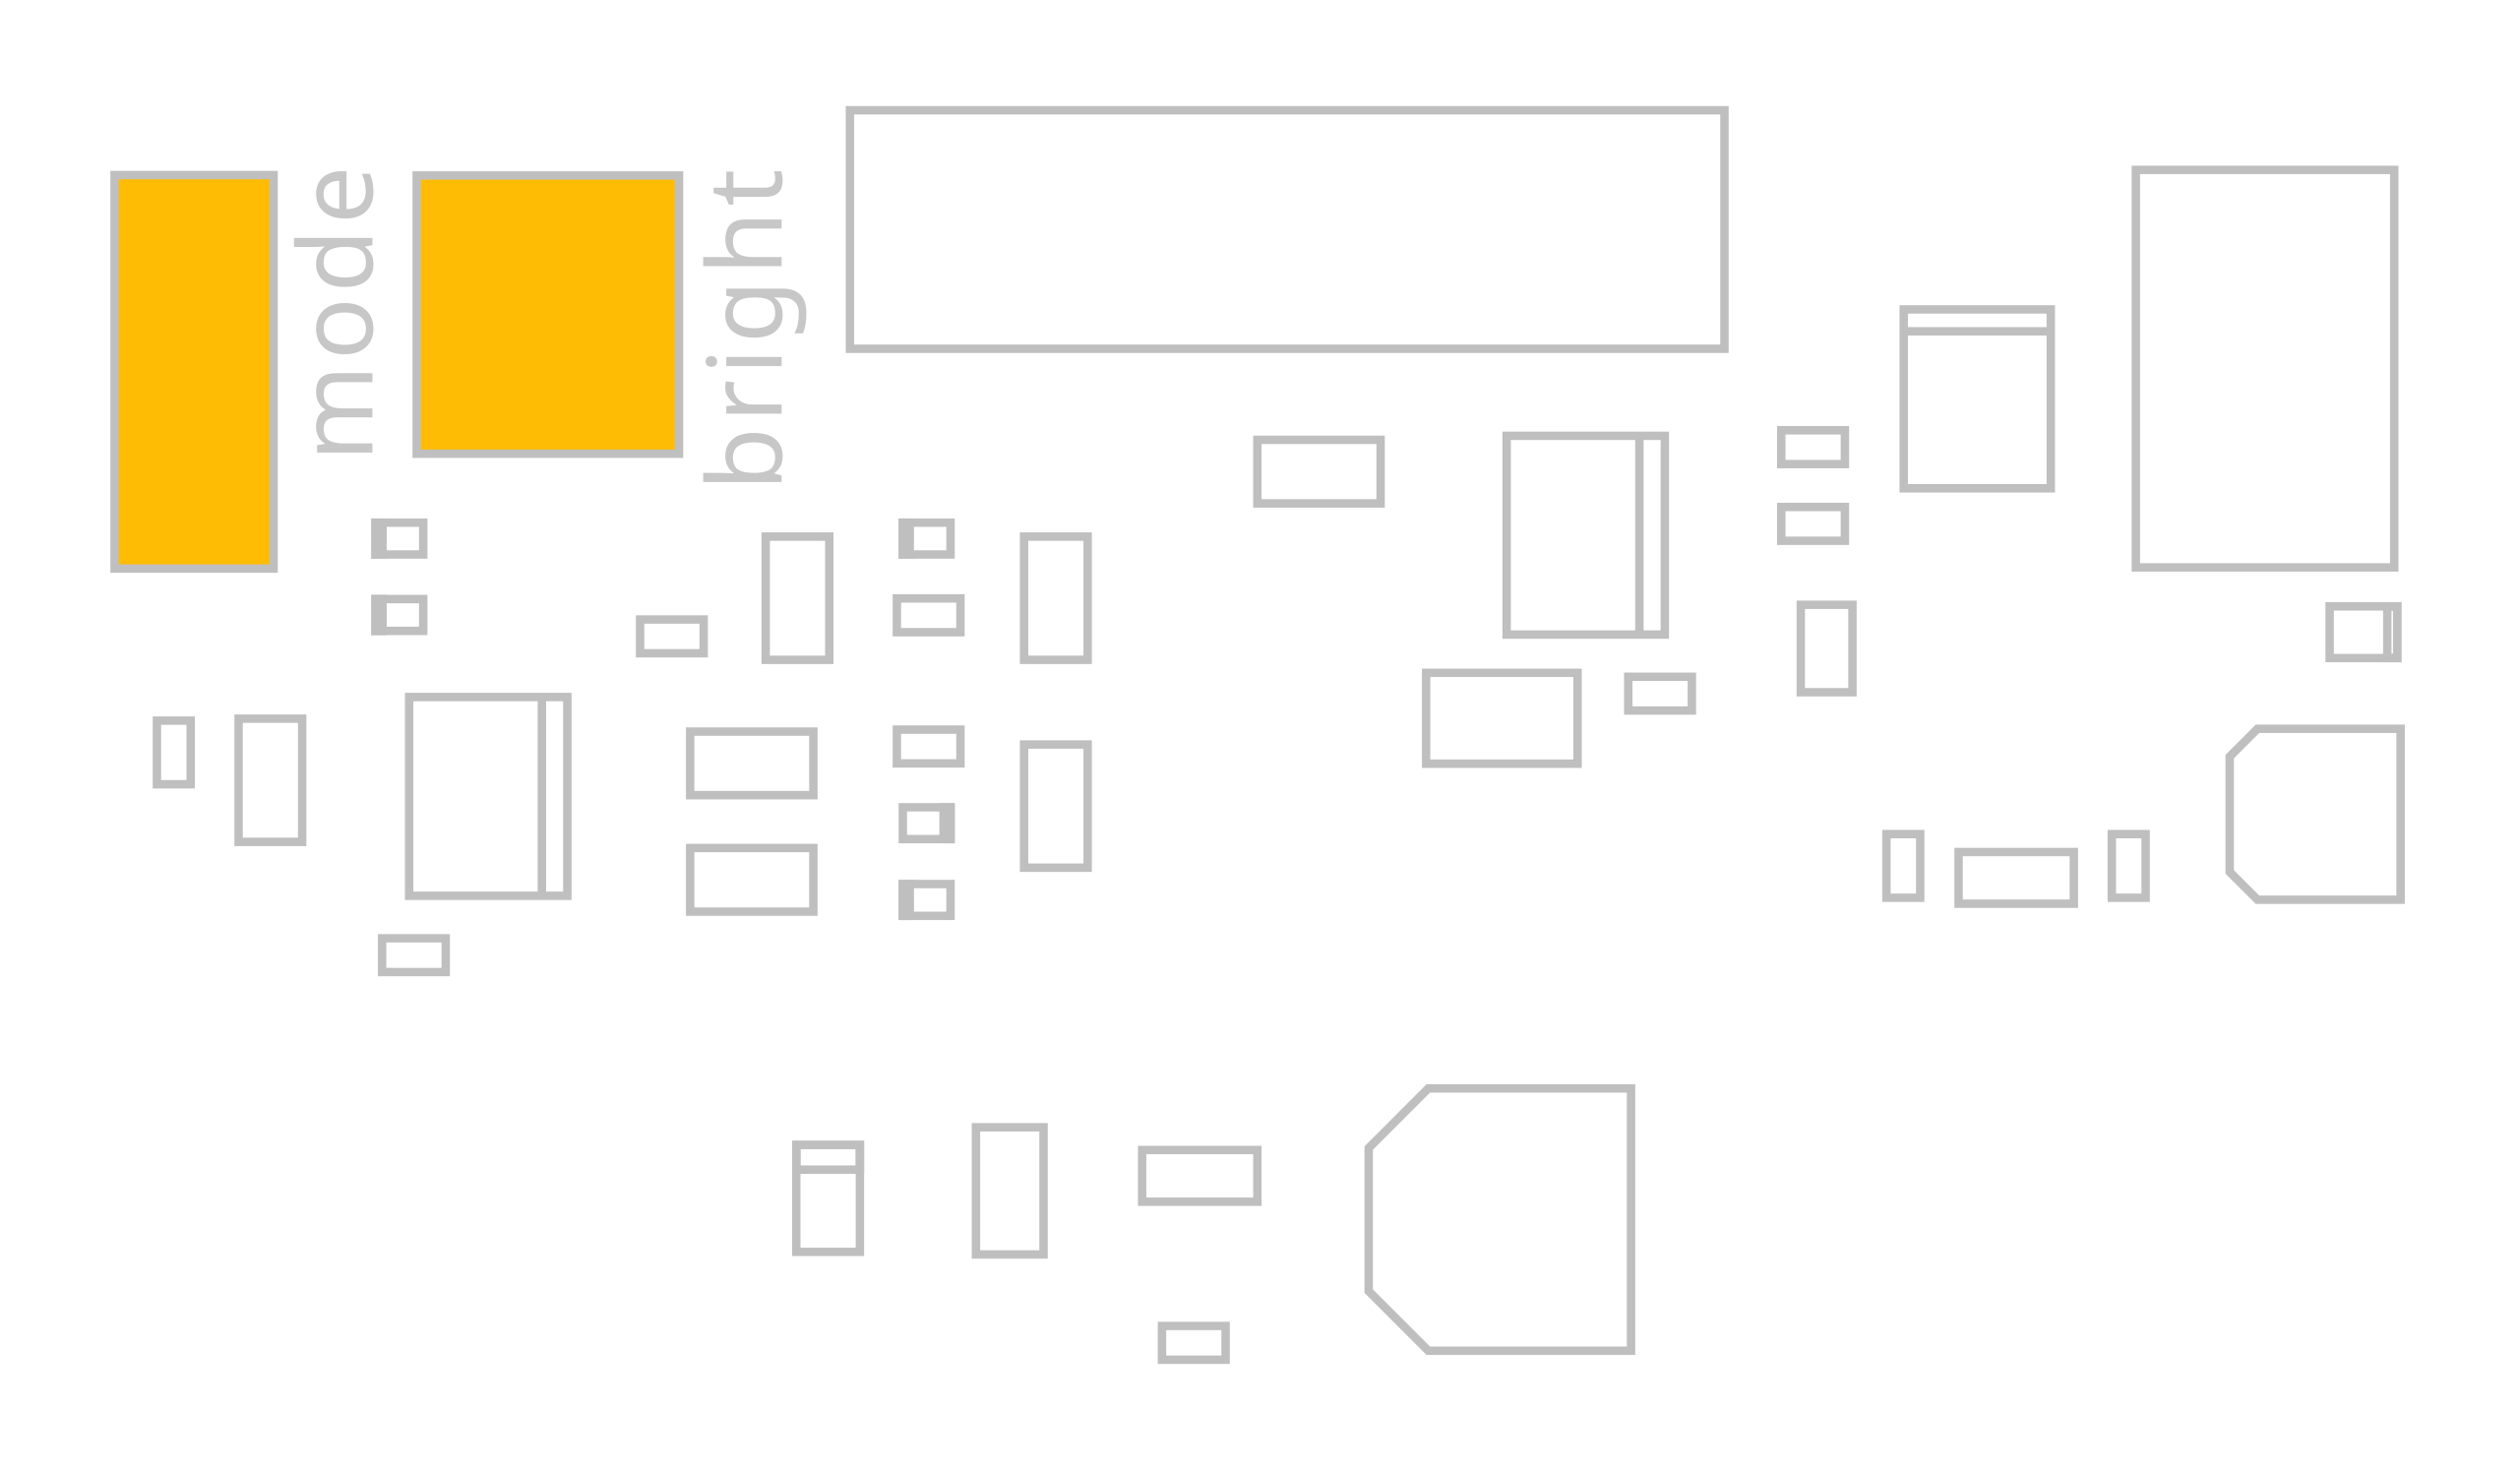
Shining Pig IO board

IO Board

Mode

This jumper allows you to set the power-on state of the pedal. With the jumper present it will stay off and without the jumper it will switch on upon powering.

Bright

This trimpot allows you to set the brightness of the status LED.

Tips & Tricks

The "Hair" Control

We modified the Gain pot (using a 1kB value) to give you fine control over the onset of distortion. You might notice a small "dead spot" at the very bottom of the range—this is intentional. It allows us to stretch out the transition point where the transistors just start to clip. This is where this pedal lives: adding "hair" and sparkle to a clean amp without fully taking over the tone.

The Secret Life of the EQ

Don't let the labels fool you, this isn't your standard amp tone stack.
The Bass control is wide, affecting frequencies starting around 300Hz and extending all the way down to sub-guitar frequencies (with a massive bump at around 60Hz when maxed). It doesn't just add bass, it pushes the low-mids into distortion.
The Treble control actually starts working around 200Hz, meaning it acts more like a high-mid presence control than a simple brightness knob. Because these ranges overlap in the midrange, tweaking one changes the character of the other. Start with both at noon and make small moves.

Placement

This circuit is surprisingly versatile regarding placement.
  • First in chain: If you want that classic, touch-sensitive interaction with your guitar's volume knob, put it first. The low input impedance loads your pickups slightly, giving you a dynamic feel that cleans up beautifully.
  • End of chain: Unlike some vintage fuzzes the Shining Pig handles buffered, low-impedance signals perfectly well. Try placing it at the very end of your drive section as an always-on sweetener, adding that 18V headroom and a final dusting of hair to your entire signal chain.
This circuit is surprisingly versatile regarding placement.

Resources

Hardware Files

Schematics, PCB layouts, BOM and Gerbers

View Repository

Firmware

Pre-compiled hex files and source code

Flashing Guide

BOM & Build

Complete assembly docs

Assembly Guide